Position Sizing for Iron Condors: The 2% Rule and Why It Keeps You in the Game
Position Sizing for Iron Condors: The 2% Rule and Why It Keeps You in the Game Position Sizing for Iron Condors: The 2% Rule and Why It Keeps You in the Game In the dynamic world of options trading, strategies like the iron condor offer compelling opportunities for generating con
Abstract
Position Sizing for Iron Condors: The 2% Rule and Why It Keeps You in the Game Position Sizing for Iron Condors: The 2% Rule and Why It Keeps You in the Game In the dynamic world of options trading, strategies like the iron condor offer compelling opportunities for generating con
Position Sizing for Iron Condors: The 2% Rule and Why It Keeps You in the Game
In the dynamic world of options trading, strategies like the iron condor offer compelling opportunities for generating consistent income, particularly in range-bound or moderately volatile markets. However, the allure of high probability trades can often lead traders astray, tempting them to overcommit capital and expose their portfolios to undue risk. At Volatility Anomaly, we constantly emphasize that profitability isn't just about finding the right trade; it's fundamentally about managing risk effectively. This article delves into one of the most critical, yet often overlooked, aspects of successful iron condor trading: iron condor position sizing.
We'll explore robust frameworks, including the widely respected 2% rule options, and discuss how to apply these principles to your iron condor trades. Our goal is to equip you with the knowledge to size your positions intelligently, ensuring that even when a trade goes awry – as some inevitably will – your capital base remains intact, allowing you to stay in the game and capitalize on future opportunities. By integrating these disciplined approaches, you'll transform your trading from a series of speculative bets into a systematic, risk-controlled endeavor, a hallmark of professional options trading.
Why Position Sizing is Non-Negotiable for Iron Condors
The iron condor is a credit spread strategy designed to profit from a stock or ETF remaining within a defined price range until expiration. It involves selling an out-of-the-money (OTM) call spread and an OTM put spread, typically with the same expiration date. While these trades boast a high probability of profit (POP) – often 70% or more – they also carry a defined maximum loss. This characteristic makes them attractive, but it also creates a psychological trap: the temptation to scale up position size excessively due to the high POP.
Consider a scenario where you consistently win 7 out of 10 iron condor trades. If your three losing trades wipe out all the gains from your seven winners, you're back to square one, or worse. This is precisely where proper options risk management through intelligent position sizing becomes paramount. Without it, even a high-probability strategy can lead to catastrophic capital depletion. The market is inherently unpredictable; black swan events, unexpected news, or sudden shifts in volatility can turn a seemingly safe iron condor into a maximum loss scenario overnight. The COVID-19 crash in March 2020, where the VIX spiked from 15 to over 80 in a matter of weeks, served as a brutal reminder of this reality, causing many unprepared iron condor traders significant losses.
At Volatility Anomaly, our automated screener and weekly picks often highlight iron condor opportunities on liquid ETFs like SPY, QQQ, or IWM, or large-cap stocks such as AAPL or MSFT, where implied volatility (IV) is elevated (e.g., IV Rank above 50%). While these conditions enhance the premium collected, they also signal increased potential for price movement. Therefore, understanding how much capital to allocate to each trade, relative to your overall portfolio, is the bedrock of sustainable options trading. It's not about avoiding losses entirely, but about ensuring that no single loss, or even a series of losses, can cripple your trading account.
Core Concepts: The 2% Rule and Buying Power Utilization
Effective iron condor position sizing revolves around two primary concepts: limiting the maximum potential loss to a small percentage of your total trading capital and managing your buying power utilization. These two ideas are interconnected but address slightly different aspects of risk.
The 2% Rule for Options Trading
The 2% rule is a cornerstone of prudent risk management across all forms of trading, and it translates seamlessly to options. It dictates that you should never risk more than 2% of your total trading capital on any single trade. For an iron condor, "risk" refers to the maximum potential loss of the strategy. If your trading account has $100,000, your maximum loss on any given iron condor should not exceed $2,000.
- Calculation:
- Maximum Risk per Trade = Total Trading Capital × 0.02
- Example: $100,000 portfolio × 0.02 = $2,000 maximum risk per trade.
- Why 2%? This seemingly small percentage offers significant protection. If you suffer a string of losses, say ten consecutive maximum loss trades (an unlikely but possible scenario), you would only lose 20% of your capital. While painful, a 20% drawdown is recoverable. Losing 50% or more, however, requires a 100% gain just to get back to breakeven, a much more challenging feat. The 2% rule ensures that even significant losing streaks do not put you out of business.
- Adjusting the Rule: Some conservative traders might opt for a 1% rule, especially when starting out or trading highly volatile instruments. More aggressive traders might stretch to 3% or 4%, but this significantly increases the risk of irrecoverable drawdowns. For most retail traders, 2% strikes an excellent balance between growth potential and capital preservation.
Buying Power Utilization (BPU)
While the 2% rule focuses on the maximum potential loss relative to your capital, buying power utilization (BPU) focuses on the capital your broker reserves for the trade. For credit spreads like the iron condor, the buying power reduction (BPR) is typically equal to the width of the spread minus the credit received, multiplied by the number of contracts. This represents the maximum potential loss per spread. However, for an iron condor, the BPR is usually calculated based on the wider of the call spread or the put spread, as you can only suffer a maximum loss on one side at a time (assuming the stock doesn't gap through both spreads simultaneously, which is rare for standard iron condors).
- Calculation:
- BPR per Iron Condor = (Wider Spread Width - Credit Received per Iron Condor) × Number of Contracts
- Example: If your call spread is $5 wide and your put spread is $5 wide, and you receive $1.50 credit for the entire iron condor, the BPR for one iron condor would be ($5.00 - $1.50) × 100 = $350.
- Why BPU Matters: BPU is crucial because it determines how many concurrent positions you can hold. If you allocate too much buying power to a single trade, you limit your ability to enter new, potentially profitable trades, or to manage existing ones (e.g., rolling positions). A common guideline is to keep total BPU across all open positions below 25-30% of your total trading capital. This leaves ample room for adjustments, new opportunities, and unforeseen margin calls.
- Interplay with 2% Rule: The 2% rule acts as an upper bound for the maximum loss. BPU helps you manage the capital required to initiate and maintain the trade. For an iron condor, the maximum loss is often equal to the BPR. Therefore, if your BPR for a single iron condor is $350, and your 2% risk limit is $2,000, you could theoretically trade up to 5 contracts ($2000 / $350 = ~5.7 contracts, so 5 contracts to stay within the limit).
The Volatility Anomaly Approach to Sizing
At Volatility Anomaly, we advocate for a holistic approach. First, determine your maximum risk per trade using the 2% rule. Then, use this figure to calculate the number of iron condor contracts you can trade. We also continuously monitor overall portfolio BPU to ensure diversification and flexibility. Our weekly picks often provide ideal entry points for iron condors, typically targeting 0.10 to 0.25 delta for the short strikes, with spread widths of $5-$10 for ETFs and $2.50-$5 for individual stocks, aiming for a credit of at least 1/3rd the spread width. These parameters are designed to offer a balance of high probability and reasonable risk/reward, making position sizing even more critical.
Practical Application: Sizing an Iron Condor Trade
Let's walk through a concrete example of how to apply these principles to an actual trade, using a hypothetical scenario on SPY.
Scenario: SPY Iron Condor
Trader Profile:
- Total Trading Capital: $50,000
- Risk Tolerance: Moderate (adheres to 2% rule)
- Market Conditions: SPY trading around $500, VIX at 18 (moderate IV, IV Rank ~40%).
- Target Expiration: 45 DTE (Days To Expiration)
Step 1: Calculate Maximum Risk per Trade (2% Rule)
Based on the 2% rule:
Maximum Risk = $50,000 × 0.02 = $1,000
This means the maximum potential loss for this iron condor trade, regardless of the number of contracts, should not exceed $1,000.
Step 2: Identify Iron Condor Opportunity (Volatility Anomaly Screener)
Let's say our Volatility Anomaly screener identifies an iron condor opportunity on SPY for the 45 DTE cycle. We look for OTM strikes with deltas around 0.10-0.20 for the short strikes and aim for a credit that's at least 1/3rd of the spread width.
Hypothetical SPY Iron Condor Setup (45 DTE):
- Short Put Strike: SPY $475 (approx. 0.15 Delta)
- Long Put Strike: SPY $470
- Short Call Strike: SPY $525 (approx. 0.15 Delta)
- Long Call Strike: SPY $530
Spread Widths:
- Put Spread Width: $475 - $470 = $5.00
- Call Spread Width: $530 - $525 = $5.00
Credit Received:
- Let's assume the put spread yields $0.75 credit.
- Let's assume the call spread yields $0.70 credit.
- Total Credit for Iron Condor = $0.75 + $0.70 = $1.45 per share (or $145 per contract).
Step 3: Calculate Maximum Loss per Iron Condor Contract
The maximum loss for an iron condor is the wider of the two spread widths minus the total credit received. In this case, both spreads are $5.00 wide.
Max Loss per Contract = (Wider Spread Width - Credit Received) × 100
Max Loss per Contract = ($5.00 - $1.45) × 100 = $3.55 × 100 = $355
Step 4: Determine Number of Contracts
Now, divide your maximum risk per trade (from Step 1) by the maximum loss per contract (from Step 3).
Number of Contracts = Maximum Risk per Trade / Max Loss per Contract
Number of Contracts = $1,000 / $355 ≈ 2.81
Since you can only trade whole contracts, you round down to the nearest whole number to stay within your risk limits.
Number of Contracts = 2
So, for a $50,000 portfolio, based on the 2% rule, you would trade 2 contracts of this SPY iron condor.
Step 5: Verify Buying Power Utilization (BPU)
For 2 contracts:
Total BPR = Max Loss per Contract × Number of Contracts
Total BPR = $355 × 2 = $710
Now, calculate the percentage of your portfolio's buying power being used:
BPU % = (Total BPR / Total Trading Capital) × 100
BPU % = ($710 / $50,000) × 100 = 1.42%
This is a very low BPU, leaving ample room for other trades and adjustments. If you were to target a total BPU of 25-30% across all positions, you could theoretically have multiple such iron condors open, provided each individual trade adheres to the 2% rule.
Trade Management and Exit
Once the trade is on, position monitoring is crucial. At Volatility Anomaly, we preach proactive management. For iron condors, typical management triggers include:
- Profit Target: Close the trade when 50% of the maximum potential profit (credit received) is achieved. In this case, 50% of $1.45 credit per contract is $0.725. So, if the iron condor can be bought back for $0.725 or less, close it. For 2 contracts, this means buying back for $145 or less.
- Loss Threshold: If one side of the spread is challenged and the loss approaches 1x the credit received (i.e., the value of the iron condor approaches $1.45), consider adjusting or closing the challenged side. If the total loss approaches 2x the credit received (i.e., the value of the iron condor approaches $2.90), consider closing the entire position to prevent a full max loss.
- Delta Management: If the delta of your short strikes moves significantly (e.g., from 0.15 to 0.30 or higher), it indicates the market is moving towards your strike. This might trigger an adjustment (rolling the challenged side further OTM for a credit or even turning it into a broken-wing butterfly) or an exit.
- Time Decay: If the trade is approaching expiration (e.g., 21 DTE) and still profitable, but not yet at your profit target, you might consider closing it to free up capital and avoid gamma risk.
By strictly adhering to the 2% rule for initial sizing and having a clear management plan, you ensure that even if this SPY iron condor hits maximum loss, your $1,000 loss is a manageable 2% of your portfolio, allowing you to move on to the next opportunity without significant emotional or financial distress.
Risk Management Beyond Sizing
While iron condor position sizing is foundational, it's part of a broader options risk management ecosystem. Here are other critical elements:
Diversification
Never put all your eggs in one basket. Even with perfect position sizing on individual trades, concentrating all your capital in one underlying or one sector is risky. Diversify your iron condors across different underlyings (e.g., SPY, QQQ, IWM, AAPL, MSFT, GOOGL), different sectors, and even different expiration cycles. This reduces correlation risk. For instance, if you have iron condors on both SPY and QQQ, a broad market downturn will likely affect both, but perhaps not to the same degree as two tech stocks.
Correlation Awareness
Be mindful of how your chosen underlyings correlate. Trading iron condors on SPY and QQQ simultaneously, while seemingly diversified, still carries significant market correlation. Consider adding non-correlated assets or strategies to your portfolio, if appropriate, to truly diversify your risk.
Volatility Environment
Iron condors thrive in moderate to high implied volatility (IV) environments where IV Rank is above 50%, as this leads to higher premiums. However, be cautious when IV is extremely high (e.g., VIX above 30-40), as this often precedes large market moves. While premiums are attractive, the risk of breaching your short strikes increases. Conversely, in low IV environments (VIX below 15, IV Rank below 20%), premiums are meager, making iron condors less appealing from a risk/reward perspective.
Adjustment Strategies
Having a predefined plan for adjusting challenged iron condors is crucial. This could involve rolling the challenged side further out in time and/or further OTM for a credit, converting to an iron butterfly, or even closing the challenged side and keeping the profitable side open. The decision to adjust vs. close depends on the market's movement, remaining DTE, and your overall risk tolerance. However, remember that adjustments consume additional buying power and can sometimes increase overall risk if not managed carefully.
Hedging
For larger portfolios, consider broader portfolio hedges. This could involve buying VIX calls or put options on the overall market (e.g., SPY puts) to offset potential losses from multiple iron condors during a significant market downturn. While these hedges come at a cost, they can provide invaluable protection during extreme volatility events, allowing your well-sized iron condors to weather the storm.
Advanced Considerations for Experienced Traders
For those with more experience, iron condor position sizing can incorporate more nuanced factors:
Kelly Criterion (Modified)
The Kelly Criterion is a formula used to determine the optimal size of a series of bets. While directly applying the pure Kelly Criterion to options trading is complex and often too aggressive due to its assumptions (e.g., known win probability and exact payout), a modified or fractional Kelly approach can inform your position sizing. It suggests that the optimal bet size increases with your edge and decreases with your risk. For iron condors, where the probability of profit is high but the payout is defined, this might suggest slightly larger sizes than the 2% rule if you have a proven, consistent edge, but always with caution. We generally recommend the 2% rule for its simplicity and robustness.
Expected Value (EV)
Experienced traders often calculate the Expected Value (EV) of a trade. EV = (Probability of Win × Profit per Win) - (Probability of Loss × Loss per Loss). If the EV is positive, the trade is theoretically profitable over the long run. Position sizing then becomes about allocating capital to maximize the positive EV across multiple trades, while still respecting overall portfolio risk limits. However, accurately calculating probabilities for options trades is challenging and requires sophisticated models.
Theta Decay Management
Iron condors profit from theta decay. Advanced traders might size positions not just on max loss, but also on the amount of daily theta decay generated relative to their portfolio size. For example, aiming for 0.05% to 0.1% of portfolio value in daily theta. This ensures that the income generated is meaningful, but it must still be balanced against the 2% rule for maximum loss. A $100,000 portfolio might aim for $50-$100 in daily theta, which can influence the number of contracts chosen, assuming the max loss remains within the 2% boundary.
Dynamic Position Sizing
Instead of fixed percentages, some traders dynamically adjust their position size based on market conditions. For instance, in periods of extremely high IV (e.g., VIX above 30, IV Rank near 100%), they might reduce their position size to 1% or even 0.5% due to the increased risk of large price swings. Conversely, in stable, range-bound markets with moderate IV, they might slightly increase their size (e.g., to 2.5% or 3%), assuming their historical win rates are high in such environments. This requires a deep understanding of market regimes and how they impact iron condor performance.
Portfolio Margin Considerations
For traders with portfolio margin accounts, the buying power reduction calculations are different. Portfolio margin systems assess risk holistically, based on the overall risk of the portfolio, rather than fixed per-contract margins. This can significantly reduce BPR for strategies like iron condors, allowing for more contracts. However, the 2% rule on maximum loss remains critical. Just because you *can* use more buying power doesn't mean you *should* expose yourself to a higher percentage loss on any single trade. The 2% rule is about capital preservation, not just margin efficiency.
Conclusion & Key Takeaways
The iron condor is a powerful, high-probability strategy, but its success hinges as much on disciplined iron condor position sizing as it does on accurate market analysis. The temptation to overleverage, especially after a string of wins, is a common pitfall that can lead to devastating losses. By embracing the 2% rule options and carefully managing your buying power, you establish a robust framework for long-term survival and growth in the options market.
At Volatility Anomaly, we believe that consistent profitability comes from a systematic approach that prioritizes risk management above all else. Our tools and educational content are designed to help you identify high-probability trades, but it's your adherence to sound position sizing that will ultimately keep you in the game, allowing you to compound your returns steadily over time. Remember, the goal isn't to hit a home run on every trade, but to consistently generate singles and doubles while protecting your capital from catastrophic losses.
Key Takeaways for Iron Condor Position Sizing:
- Implement the 2% Rule: Never risk more than 2% of your total trading capital on any single iron condor trade. This is your primary defense against catastrophic losses.
- Calculate Max Loss Accurately: Understand that the maximum loss for an iron condor is the wider of the two spread widths minus the total credit received, multiplied by 100.
- Determine Contract Size Systematically: Divide your 2% maximum risk by the maximum loss per contract to find the appropriate number of contracts to trade, always rounding down.
- Monitor Buying Power Utilization (BPU): Keep your total BPU across all open positions below 25-30% of your portfolio to maintain flexibility and avoid margin calls.
- Diversify Your Trades: Spread your iron condors across different underlyings, sectors, and expiration cycles to reduce correlation risk.
- Adjust for Volatility: Be aware of the VIX and IV Rank. Consider reducing position size in extremely high IV environments or avoiding iron condors in very low IV environments.
- Pre-plan Management and Exit: Have clear profit targets (e.g., 50% max profit) and loss thresholds (e.g., 2x credit received) before entering the trade, and stick to them.
#VolatilityAnomaly · #IVRank · #OptionsTrading · #VRP
You Might Also Like
Volatility Anomaly
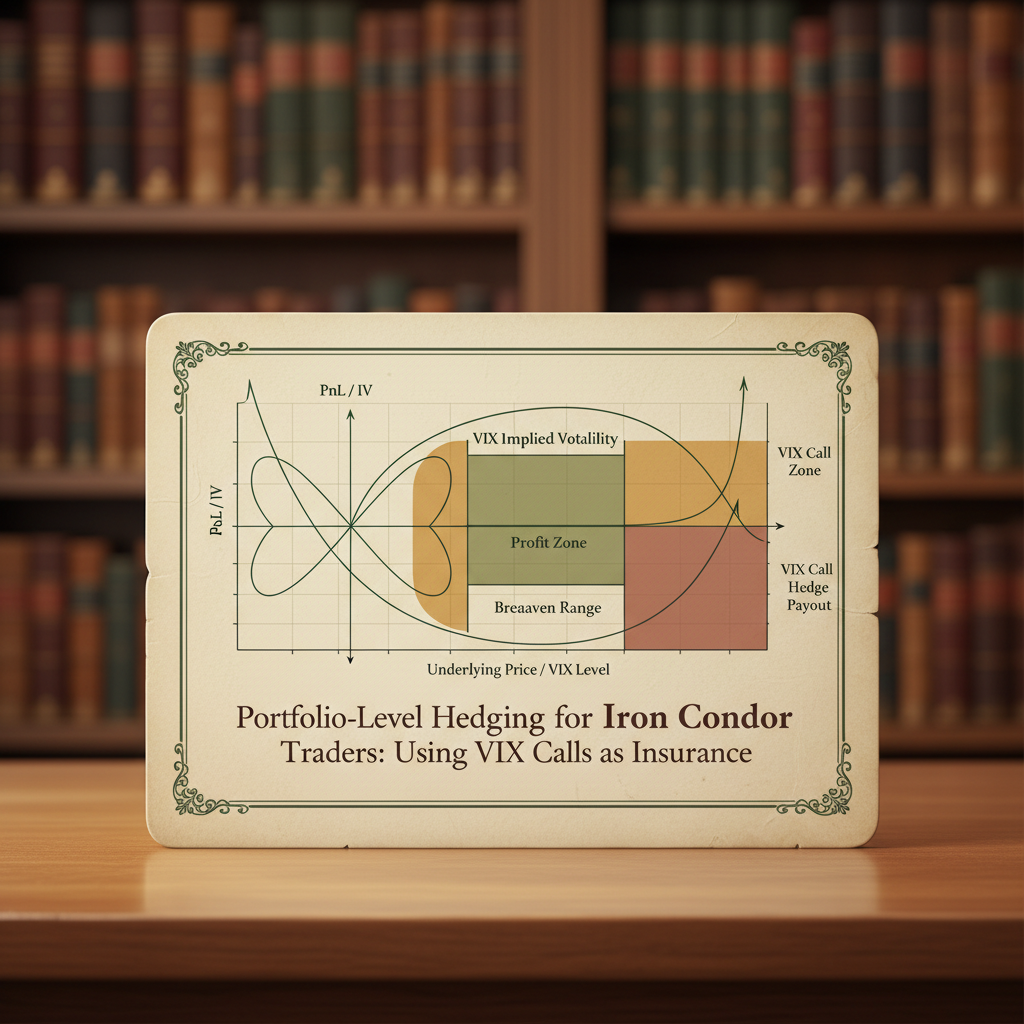
Portfolio-Level Hedging for Iron Condor Traders: Using VIX Calls as Insurance
Portfolio-Level Hedging for Iron Condor Traders: Using VIX Calls as Insurance Portfolio-Level Hedging for Iron Condor Traders: Using VIX Calls as Insurance In the world of options trading, strategies like the Iron Condor are highly popular for their ability to generate consistent
Jan 1970
Volatility Anomaly
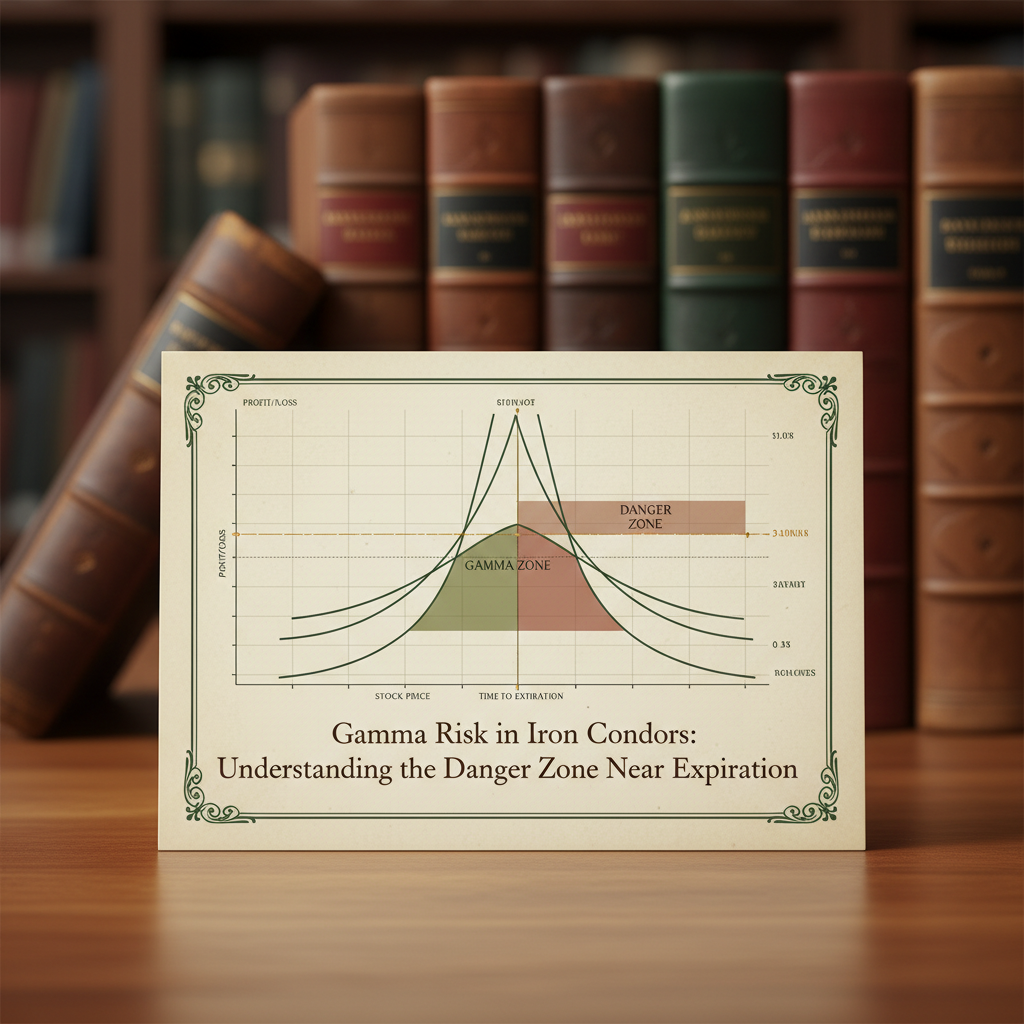
Gamma Risk in Iron Condors: Understanding the Danger Zone Near Expiration
Gamma Risk in Iron Condors: Understanding the Danger Zone Near Expiration As options traders, we often seek strategies that offer defined risk and a high probability of profit. The iron condor, a staple in many portfolios, perfectly embodies this philosophy. By selling out-of-the
Jan 1970
YOU MIGHT ALSO LIKE
Portfolio-Level Hedging for Iron Condor Traders: Using VIX Calls as Insurance
Portfolio-Level Hedging for Iron Condor Traders: Using VIX Calls as Insurance Portfolio-Level Hedging for Iron…
Read articleGamma Risk in Iron Condors: Understanding the Danger Zone Near Expiration
Gamma Risk in Iron Condors: Understanding the Danger Zone Near Expiration As options traders, we often seek st…
Read articleThe 50% Profit Target Rule: Why Closing Early Improves Your Long-Term Returns
The 50% Profit Target Rule: Why Closing Early Improves Your Long-Term Returns In the dynamic world of options…
Read articleThis article is for educational purposes only and does not constitute financial or investment advice. Options trading involves significant risk of loss and is not suitable for all investors. Past performance is not indicative of future results.